Hello!
Today, I’m doing a post that is a little bit different . Usually, I just post crochet tutorials on how to make amigurumi and that’s it. But I want to start diversifying my content and share all the knowledge, tips and things that I have learnt throughout my amigurumi journey.
In today’s post, as the title suggests, I want to share with you all of the things I have learnt over the years that have helped to elevate the quality and appearance of my amigurumis. Some of the things I have learnt along the way and others are things that I actively went in search of in order to improve my crocheting.
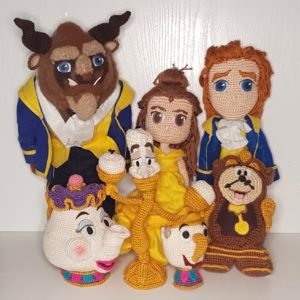
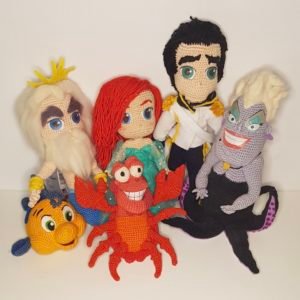
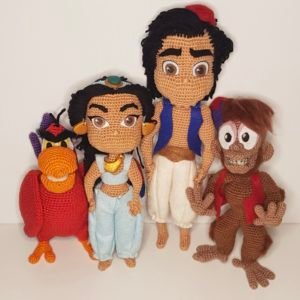
There are a lot of tips out there listing the must knows before you start making amigurumi and how to make it neater, which is why I was hesitant about writing this post. However, I decided to go ahead but keep it tailored to my personal experiences and target those who want to elevate their amigurumi to a whole new level in regard to details and realism. So, this post is not necessarily aimed at those wanting to learn how to crochet amigurumi, but those who already do and want tips on how to take it to a whole new level. Please note that this tutorial is based on the presumption that you already know how to crochet, so I have not included cardinal amigurumi rules such as using a smaller hook size than the yarn suggests. However, if you are a beginner, you can still read up and learn these skills and apply them once you have learnt how to make amigurumis.
Soon I will be publishing more posts as part of my Bitesized Mastering Amigurumi series you can check here to see these posts.
This video is also available as a Youtube video if you prefer to watch it instead of reading.
1. Using Mixed Media
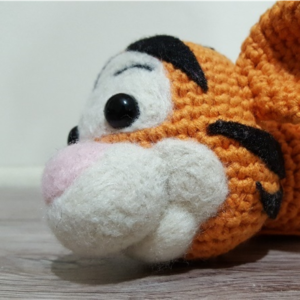
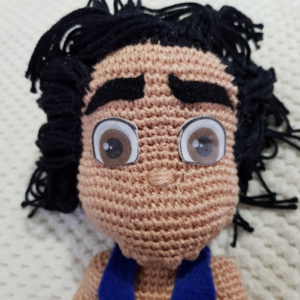
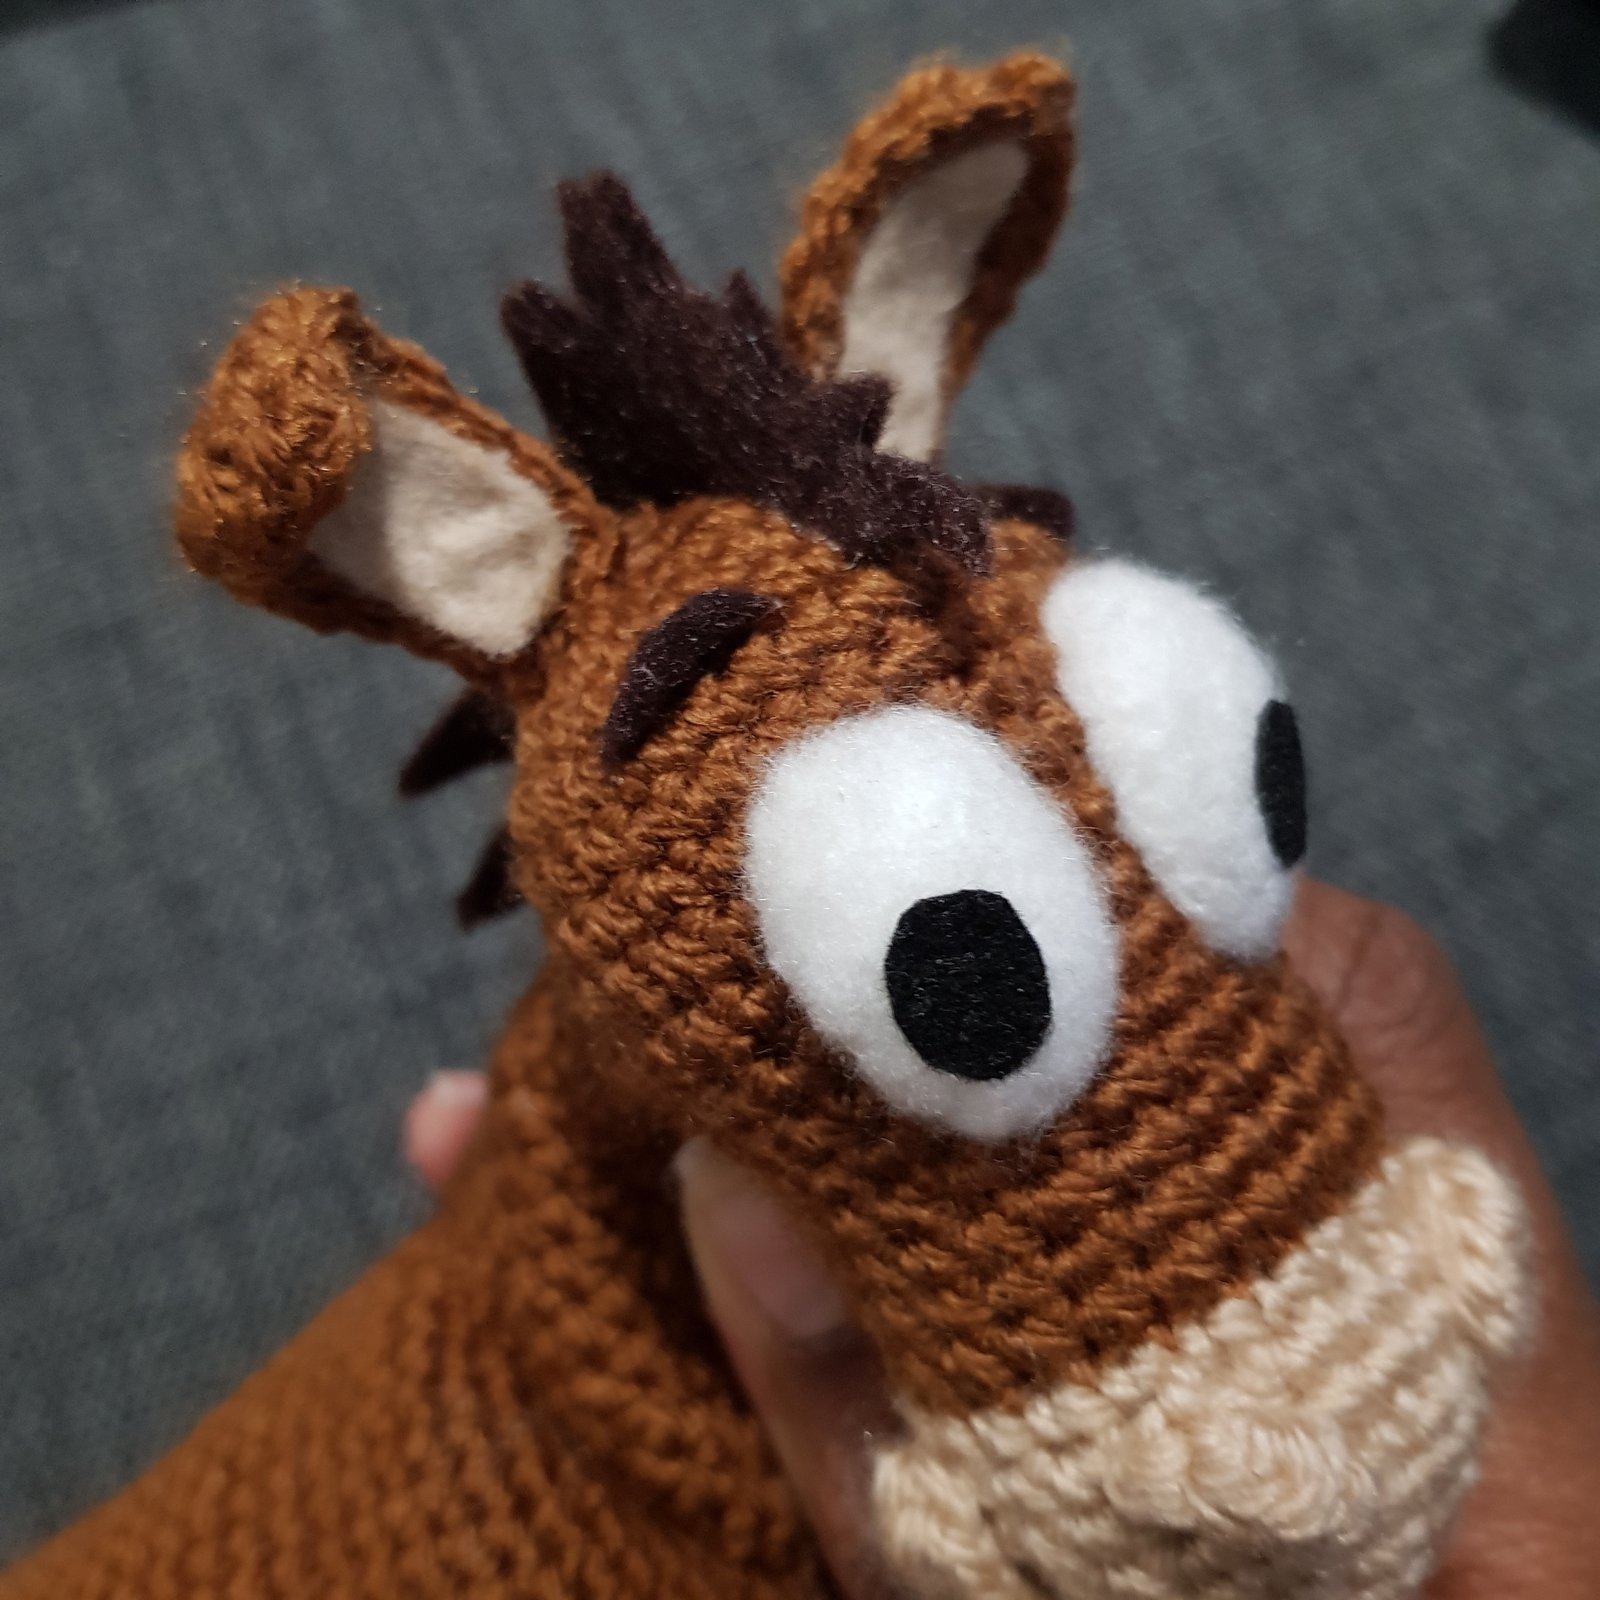
This may not be everyone’s cup of tea, but it is very high up on the must list for me. Using a mixture of mediums creates so much dimension and realism to my projects.
In my case I like to use:
- Felt sheets for things such as clothes, eyes or other small details
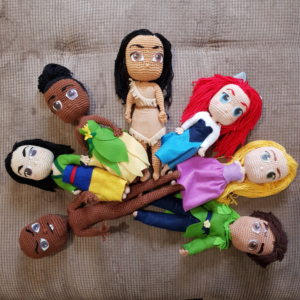
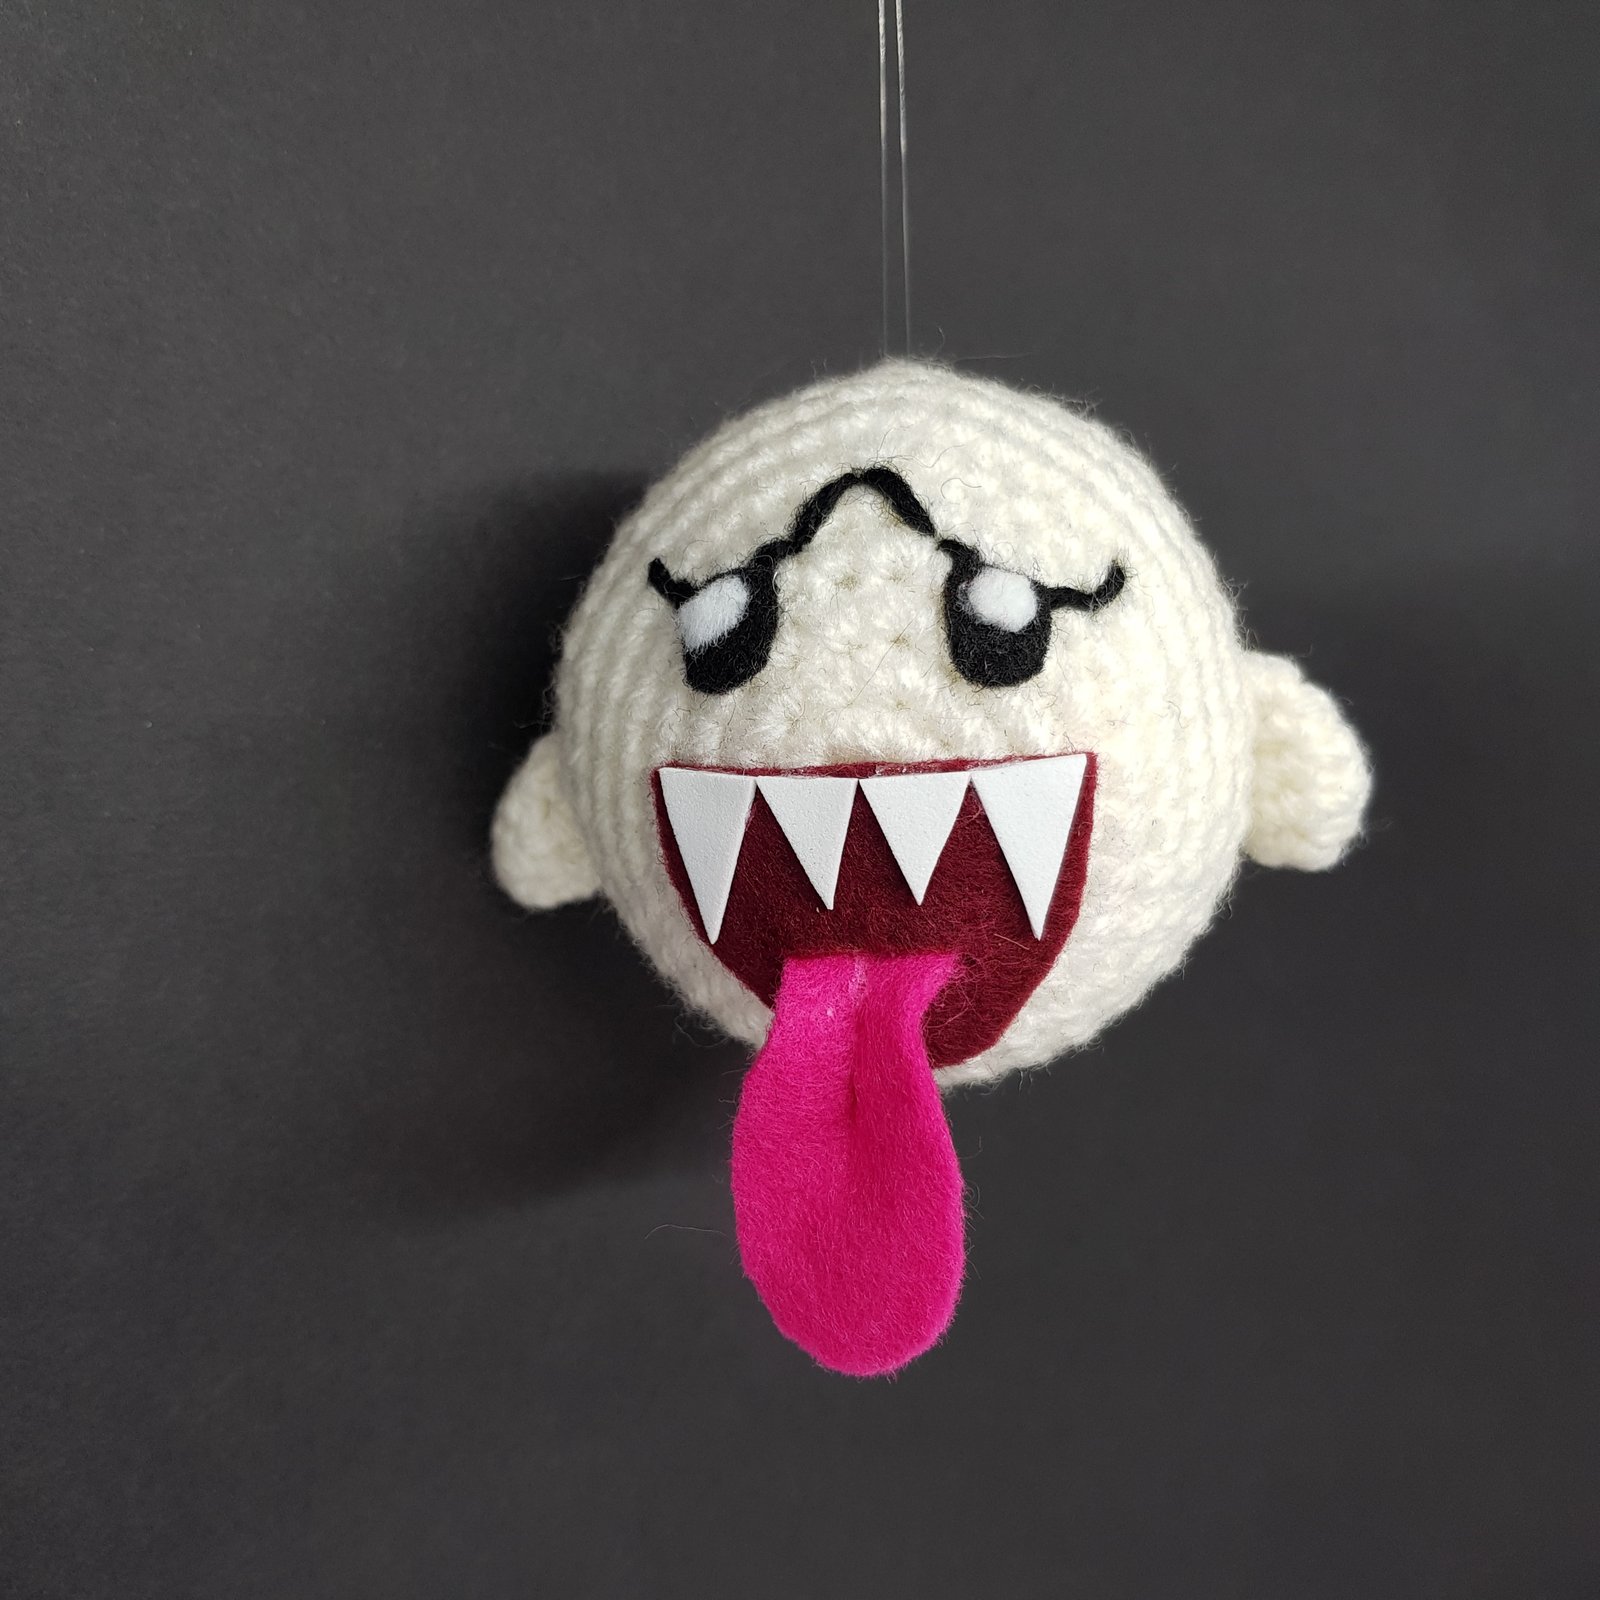
- Craft foam for teeth or spikes
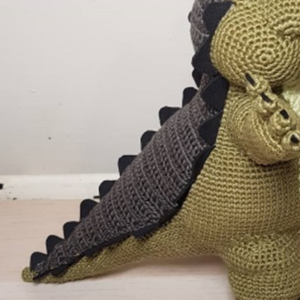
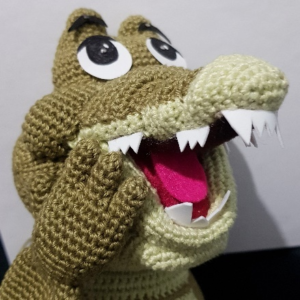
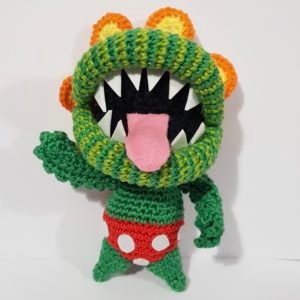
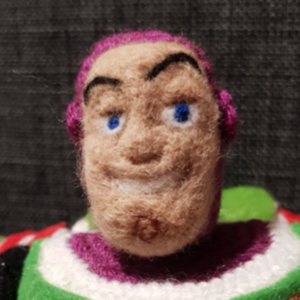
- Needle felting for things that I would have to normally embroider. I am not good at embroidery and having needle-felting as a second option opened a whole new world for me. I was able to create things like eyebrows, mouths and even faces (like with Buzz Lightyear) which are much easier to achieve using this method.
- Polymer clay to create buttons, teeth, earrings and other things like that for my amigurumi.
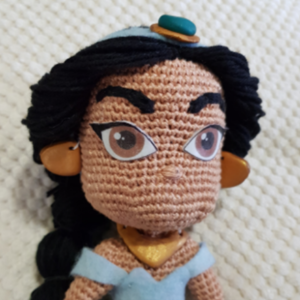

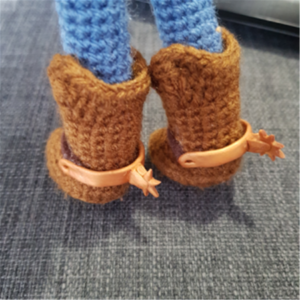
- I have even used other materials that I find around the house, such as a keychain ring for my Stinky Pete’s pull cord. And a sphere-shaped plastic packaging wrapper from my recycle bin for Buzz Lightyear’s visor.
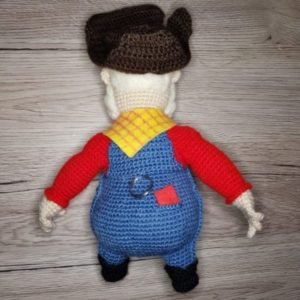
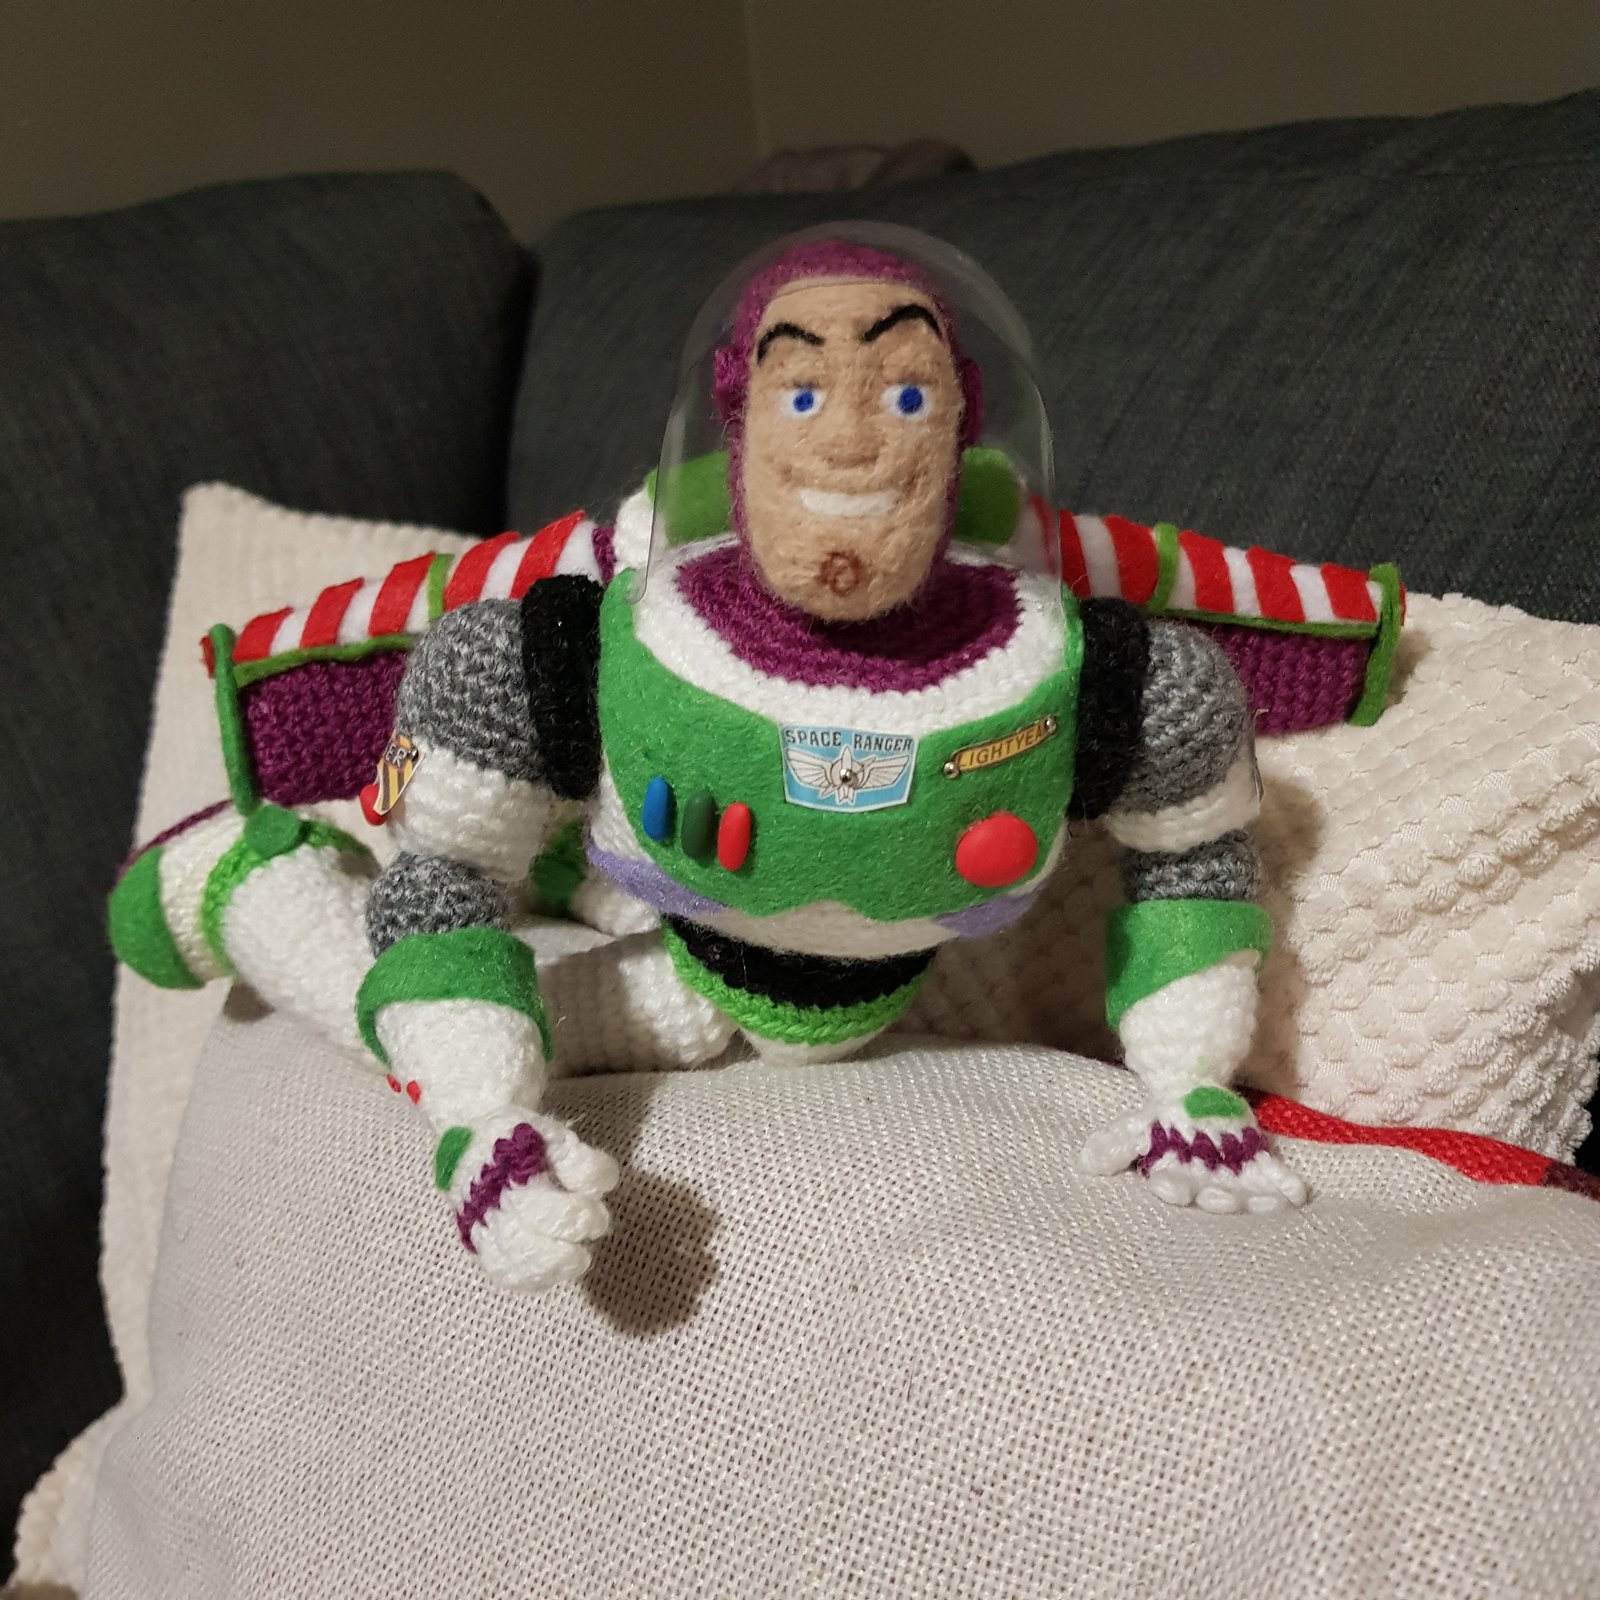
The use of mixed media isn’t mandatory and your amigurumi will still look great without it, but it makes such a nice touch and allows you to capture all of the finer details that wouldn’t be possible or as eye catching if you were only crocheting.
2. Learn to Appreciate Sewing – whipstitching is not the enemy!
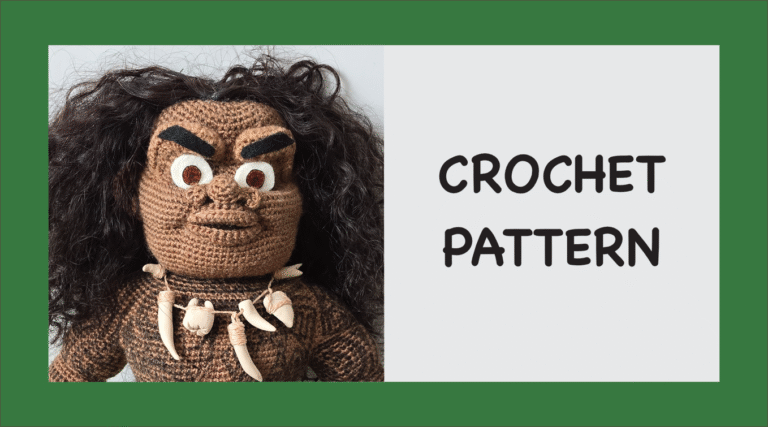
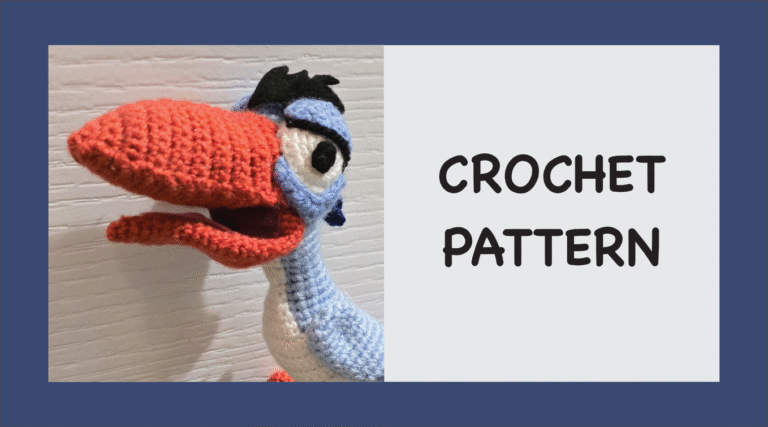
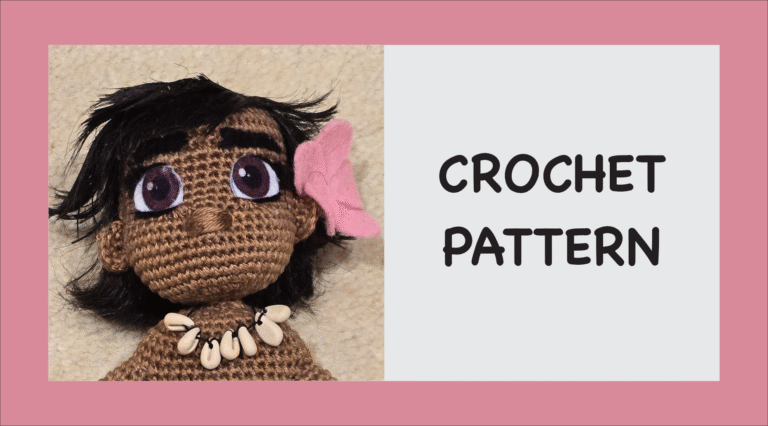
Whipstitching is a nightmare for many crocheters and as a result they will spend hours looking for no sew patterns. I am guilty of doing this in the beginning of my journey. In my opinion this will just limit you and the depth of detail that you can achieve when it relates to contouring. Using shape contouring was a game changer for me and it allowed me to create all these patterns
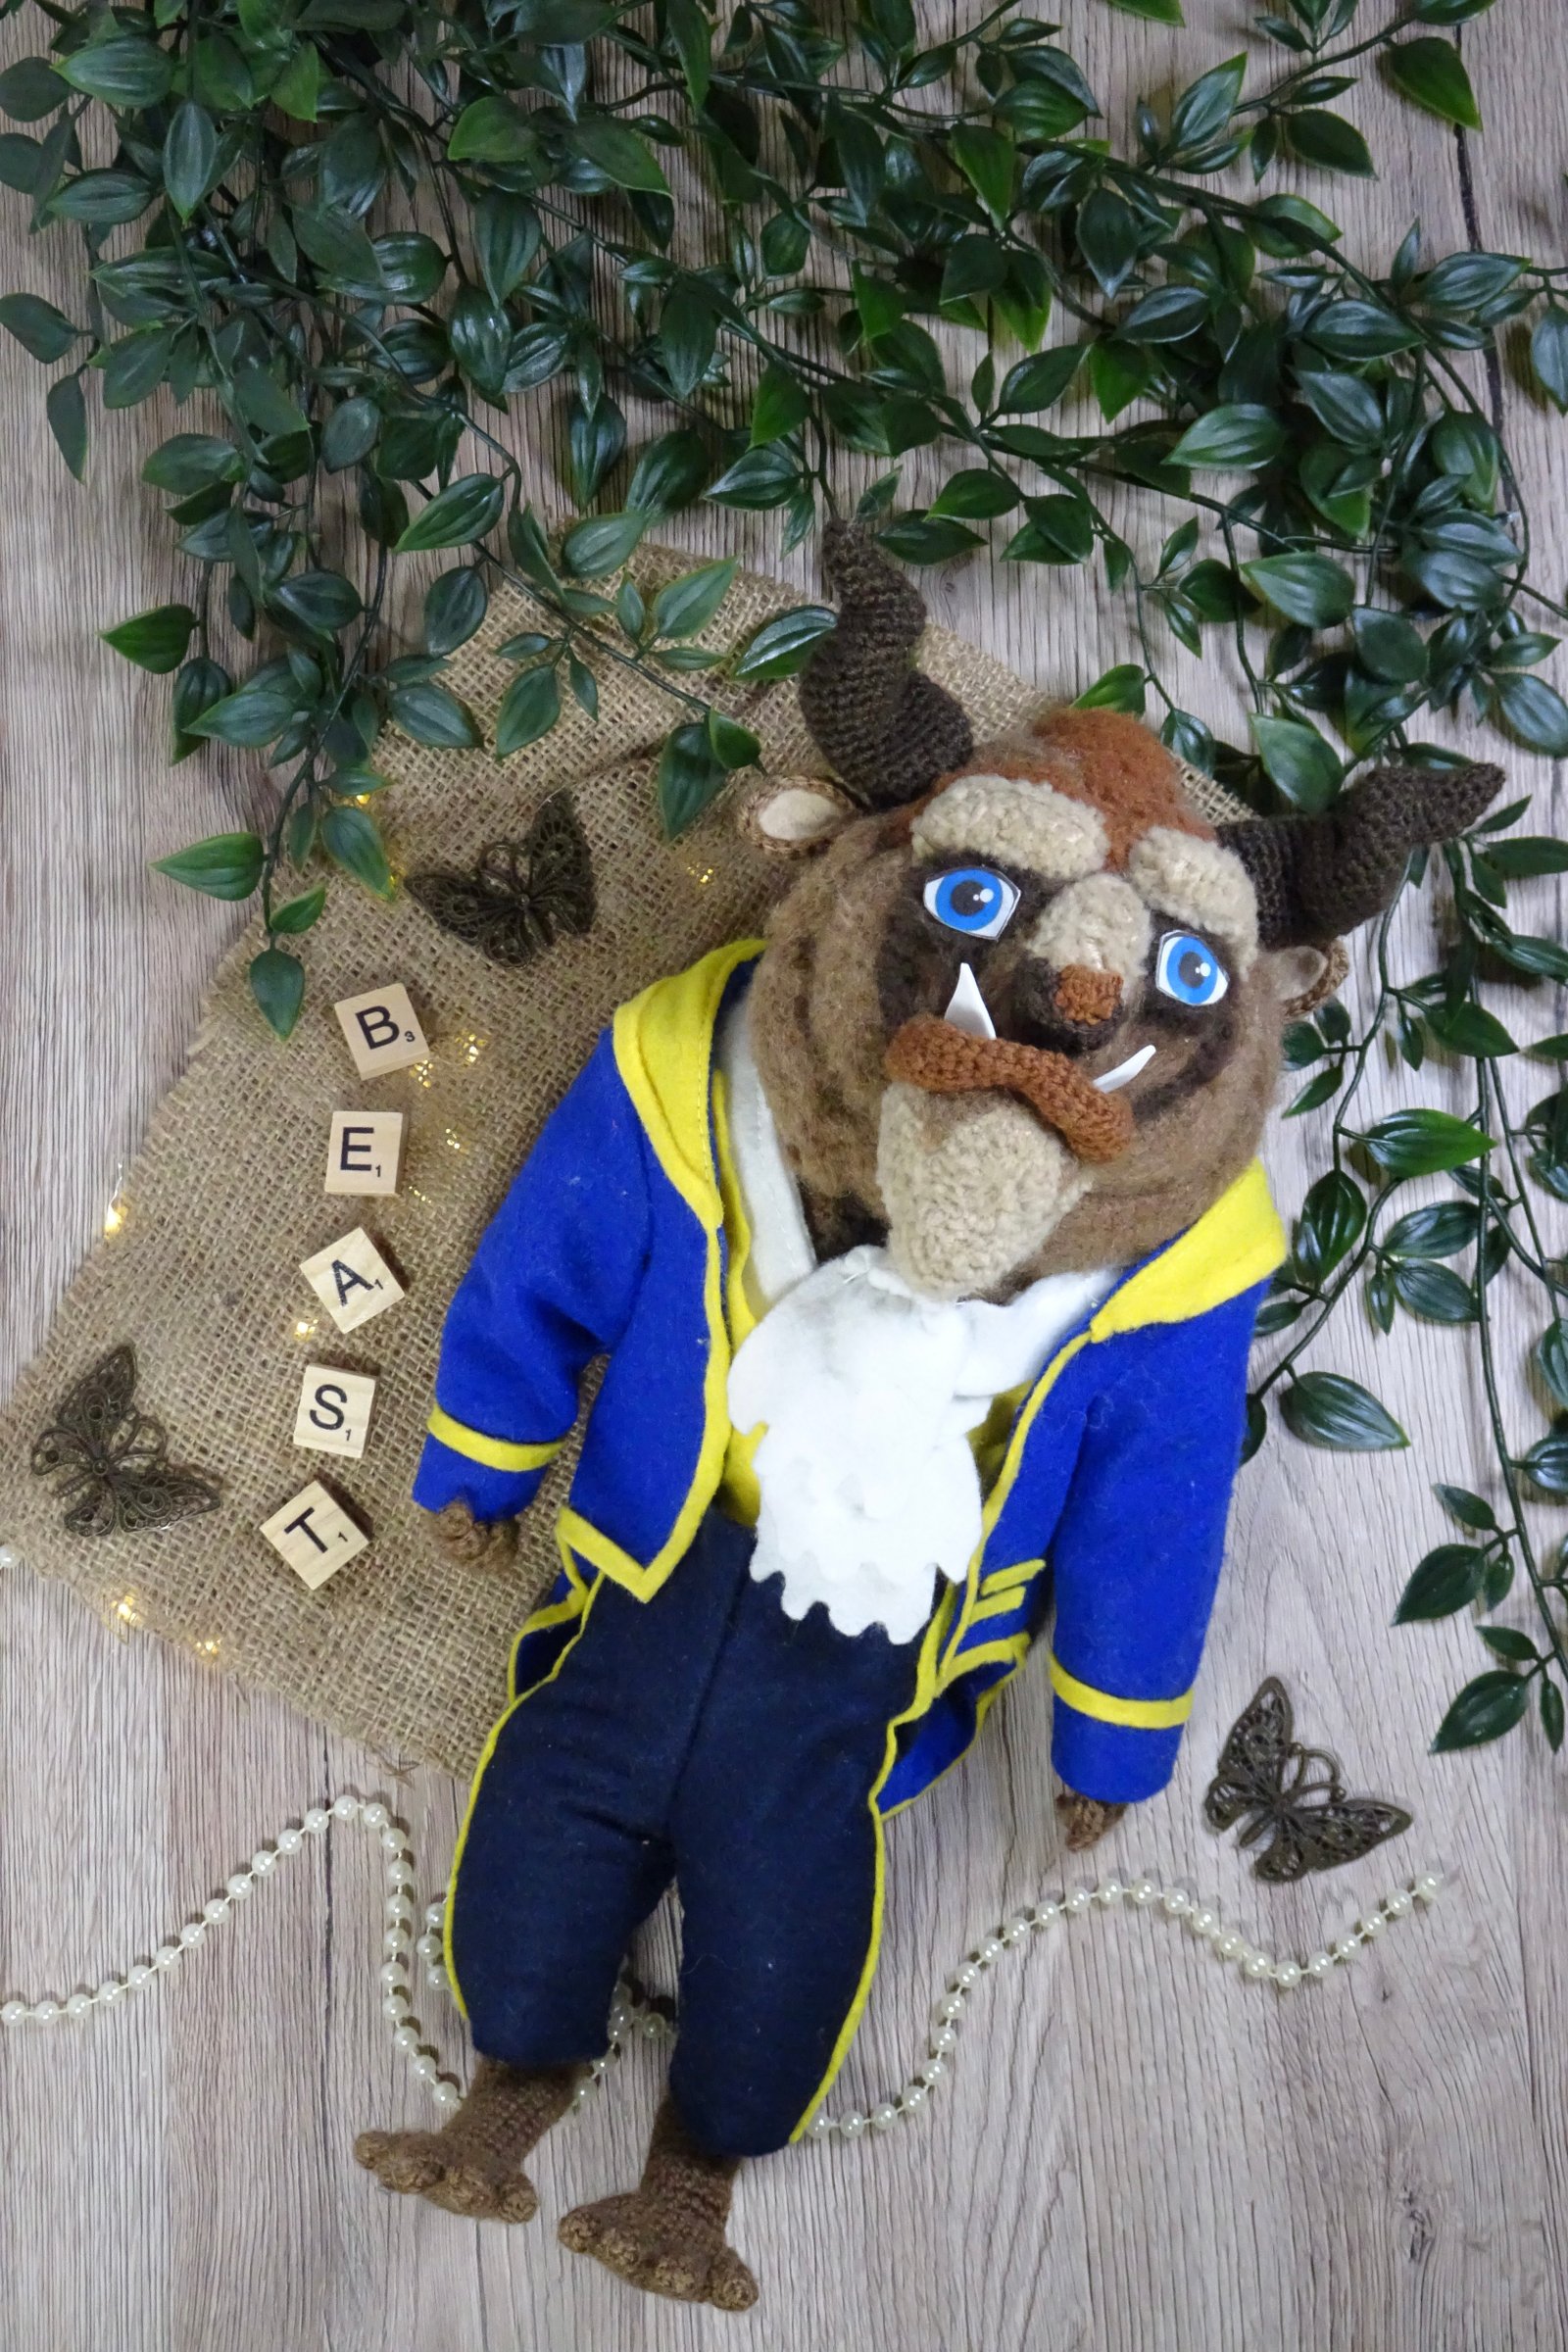
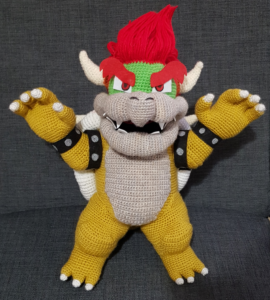

When I refer to shape contouring, I am talking about the technique of contouring by using basic shapes and sewing them together to create a more complex shape (as you can see in the pictures above).
Literally, none of these patterns would be possible with this much detail without having to do a lot of sewing. I could create all these patterns so that they require less sewing, but it would most definitely impact the level of detail that I am able to capture and the finished result would be more basic. If you are serious about amigurumi – especially if you want to create realistic and highly detailed ones, then you need to accept the fact that there will be a lot of sewing involved.
So, relax, take it slowly, grab a cup of tea and sit down to catch up on your weekly shows or find a new series to binge-watch as you whipstitch your way to creating some mind blowing amigurumis.
3. T-Shirt Transfer Paper Eyes
The most frequently asked question by people without a doubt is how I do the eyes on my Chibi dolls. [picture of my chibi dolls). The answer is that I use T-shirt transfer paper.
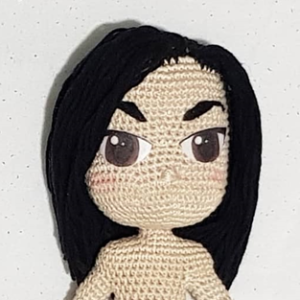
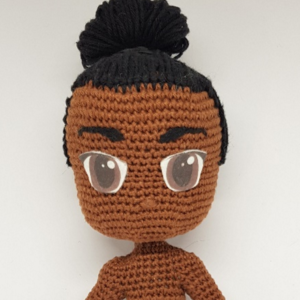

I came about this method because after having created a doll base that I was happy with I could just not get the eyes right. I am terrible at embroidering and felt it was too time consuming as well as the fact that I was looking for something less cartoony and a little more realistic.
This resulted in me designing some eyes on my laptop which I printed, cut out and pinned onto my doll. And it was perfect, it was exactly what I was looking for. This made me look for a way to find some printable fabric, which after looking around, I discovered wasn’t cheap. So, after some searching, I came across some t-shirt transfer paper. This allows you to print your design and iron it on to your chosen fabric to transfer the image. Since doing this, I have never looped back. All of my Chibi doll eyes are now done this way and I have even used this method for other finishing details such as decal stickers for my Buzz Lightyear and RC.
4. Brushing to create a fur effect
Sometimes, when crocheting – especially if you are creating animals you may want to enhance the realism of your project by making it look like fur. And this can be achieved simply by brushing your finished project and creating a lot of pilling to the yarn. This results in the crochet stitch pattern being hidden by the pilled/frayed yarn and creating the illusion of fur.
I first came across this technique when creating my Beast doll. Originally, I planned to use faux fur yarn but everywhere I looked crocheters were saying how difficult it was to use. I felt that my Beast would be hard enough to make without adding this hurdle to the mix so I decided to back loop crochet my Beast and attach the faux fur yarn into the exposed front loops afterwards. Fortunately, halfway through my project I came across a post where a crocheter talked about using a wire brush to create a fur effect. Once I tried it, I fell in love!
There is no doubt that you would still love your amigurumi whether it has fur or not. But, let’s be honest, Beast with fur surpassed every one of my expectations and the outcome just honestly blew me away.
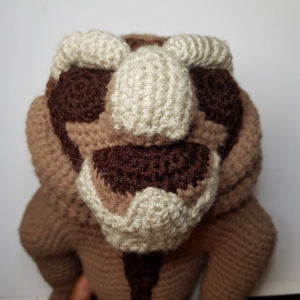
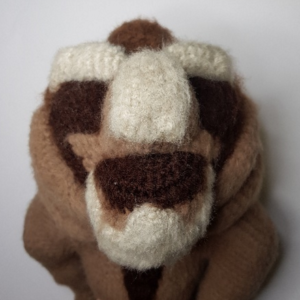
Brushing is a risky business because you may just brush too hard and create a hole in your work. This could lead your project to start unraveling which would be a complete nightmare. This happened when I first tried the technique, but fortunately I was able to get some yarn and stitch the hole closeted and prevent further fraying.
Also, just to note that this method works best on acrylic and wool yarn. It does work with cotton, but it tends not to pill as easily so the look is different, and it requires a lot more brushing.
5. Draw and plan in Detail
It may seem like an obvious and rather basic tip but surprisingly, this is something that is relatively new to me. I am a very hands-on crafter and I tend to just go with the flow. I would just look at a picture and use at it as reference. Doing things like this makes for a lot of trial and error which costs a lot of time. It can also result in your projects not being the size that you want, there have been times where my project has turned out either too big or too small. And when you are creating a series or characters that go other it can mess with the continuity. It has also resulted in me not contouring correctly, Example my Abu, I forgot to contour for the bum).

I started doing more detailed planning when I made my Beast pattern but I didn’t have a gauge so I could not be more precise in my planning. Recently, I created some gauges using my preferred yarns and hook sizes. Now, pictures are drawn out or printed true to size, preferably from various angles but at a minimum the front, back and side. I also write down how many stitches wide certain parts should be, how many rows high I need to do it, as well as how many increases or decreases I need to do in certain areas. This is made possible thanks to my gauge and being to measure the stitches and rows – and even at times holding it up to my picture.
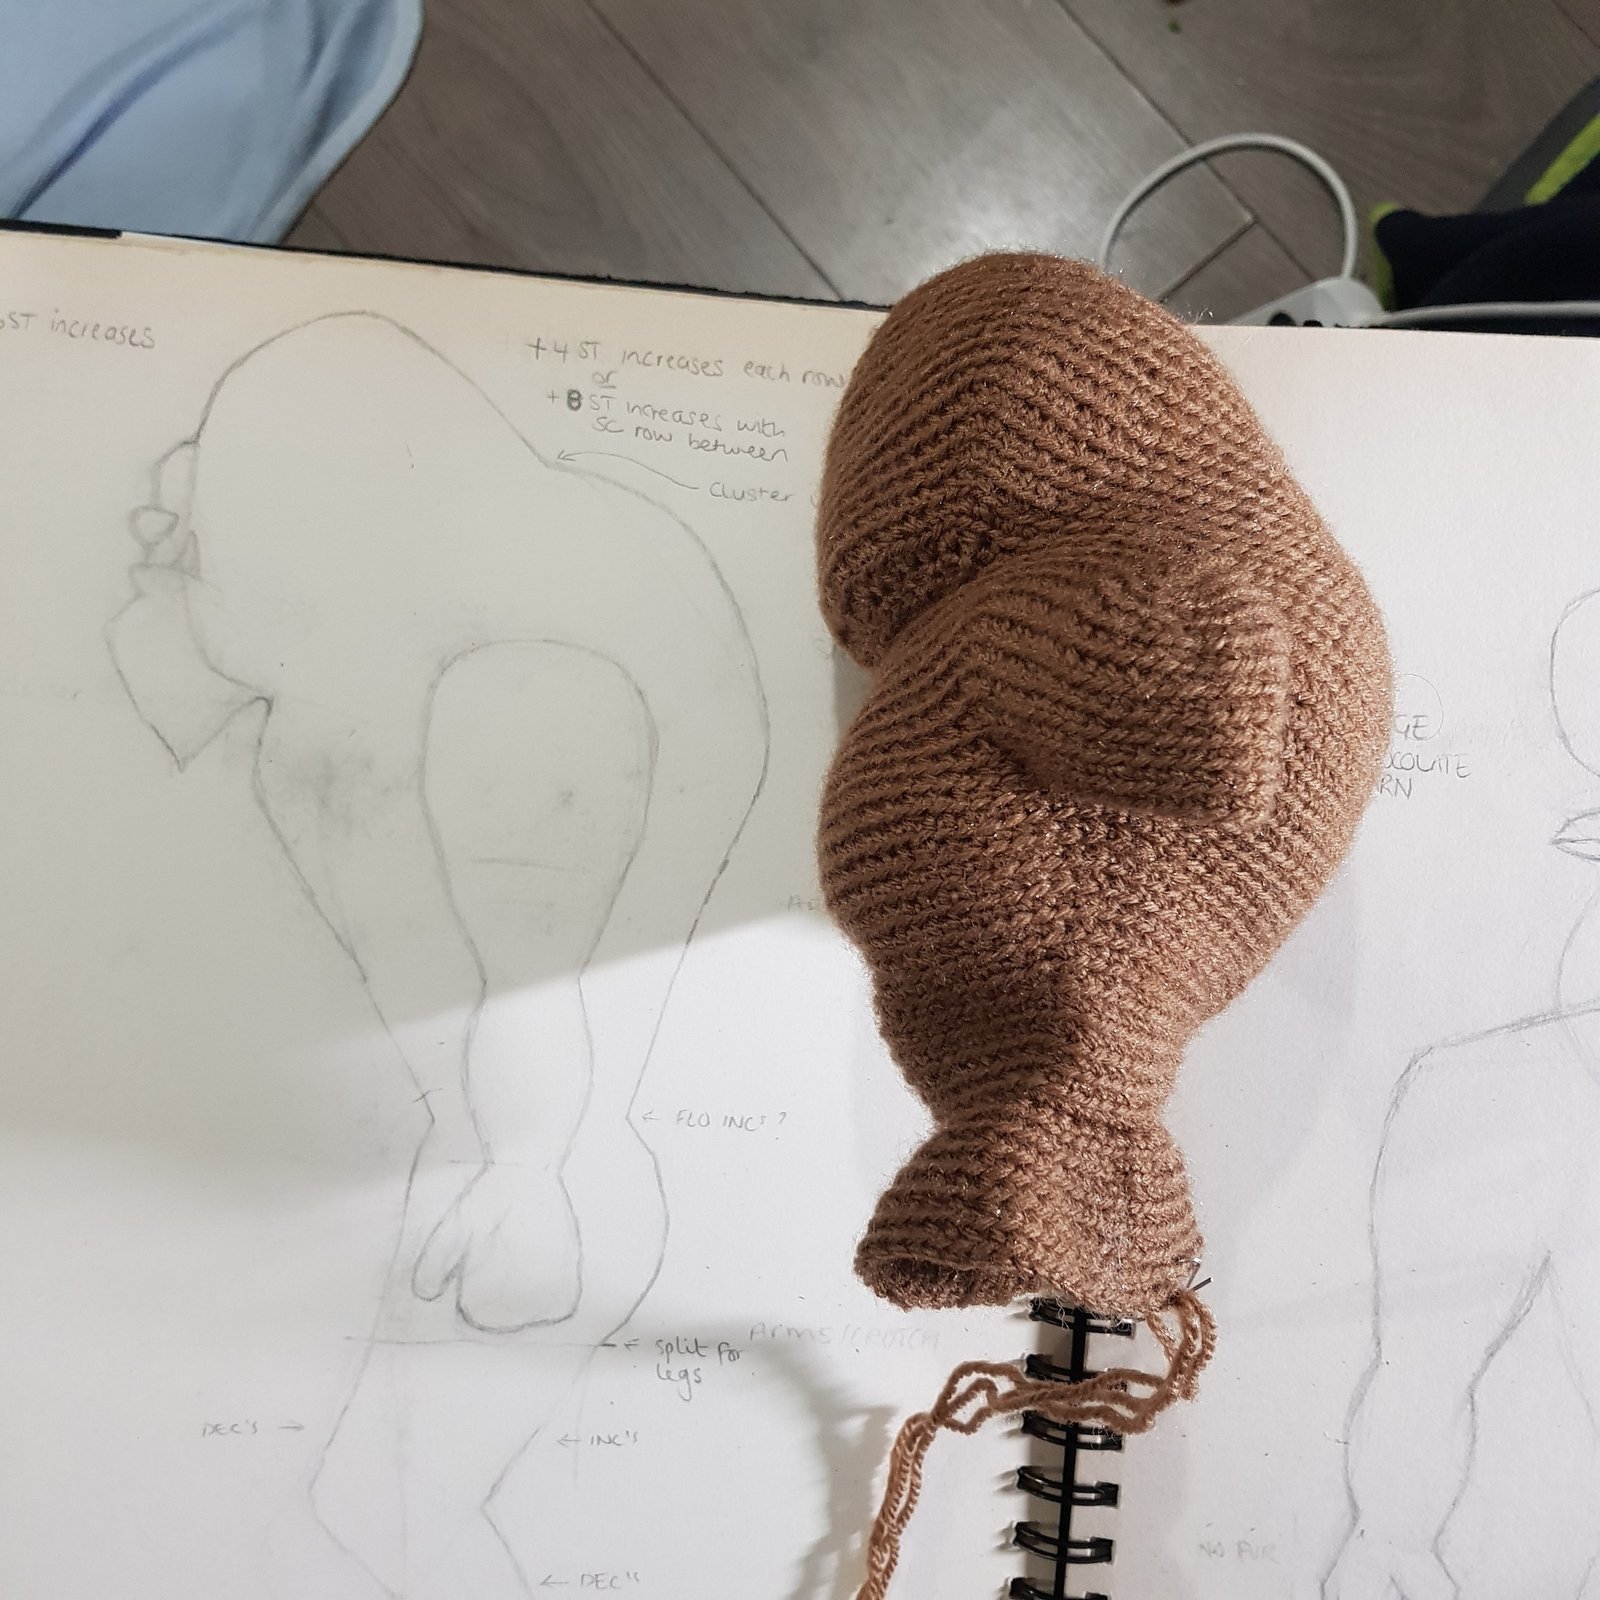
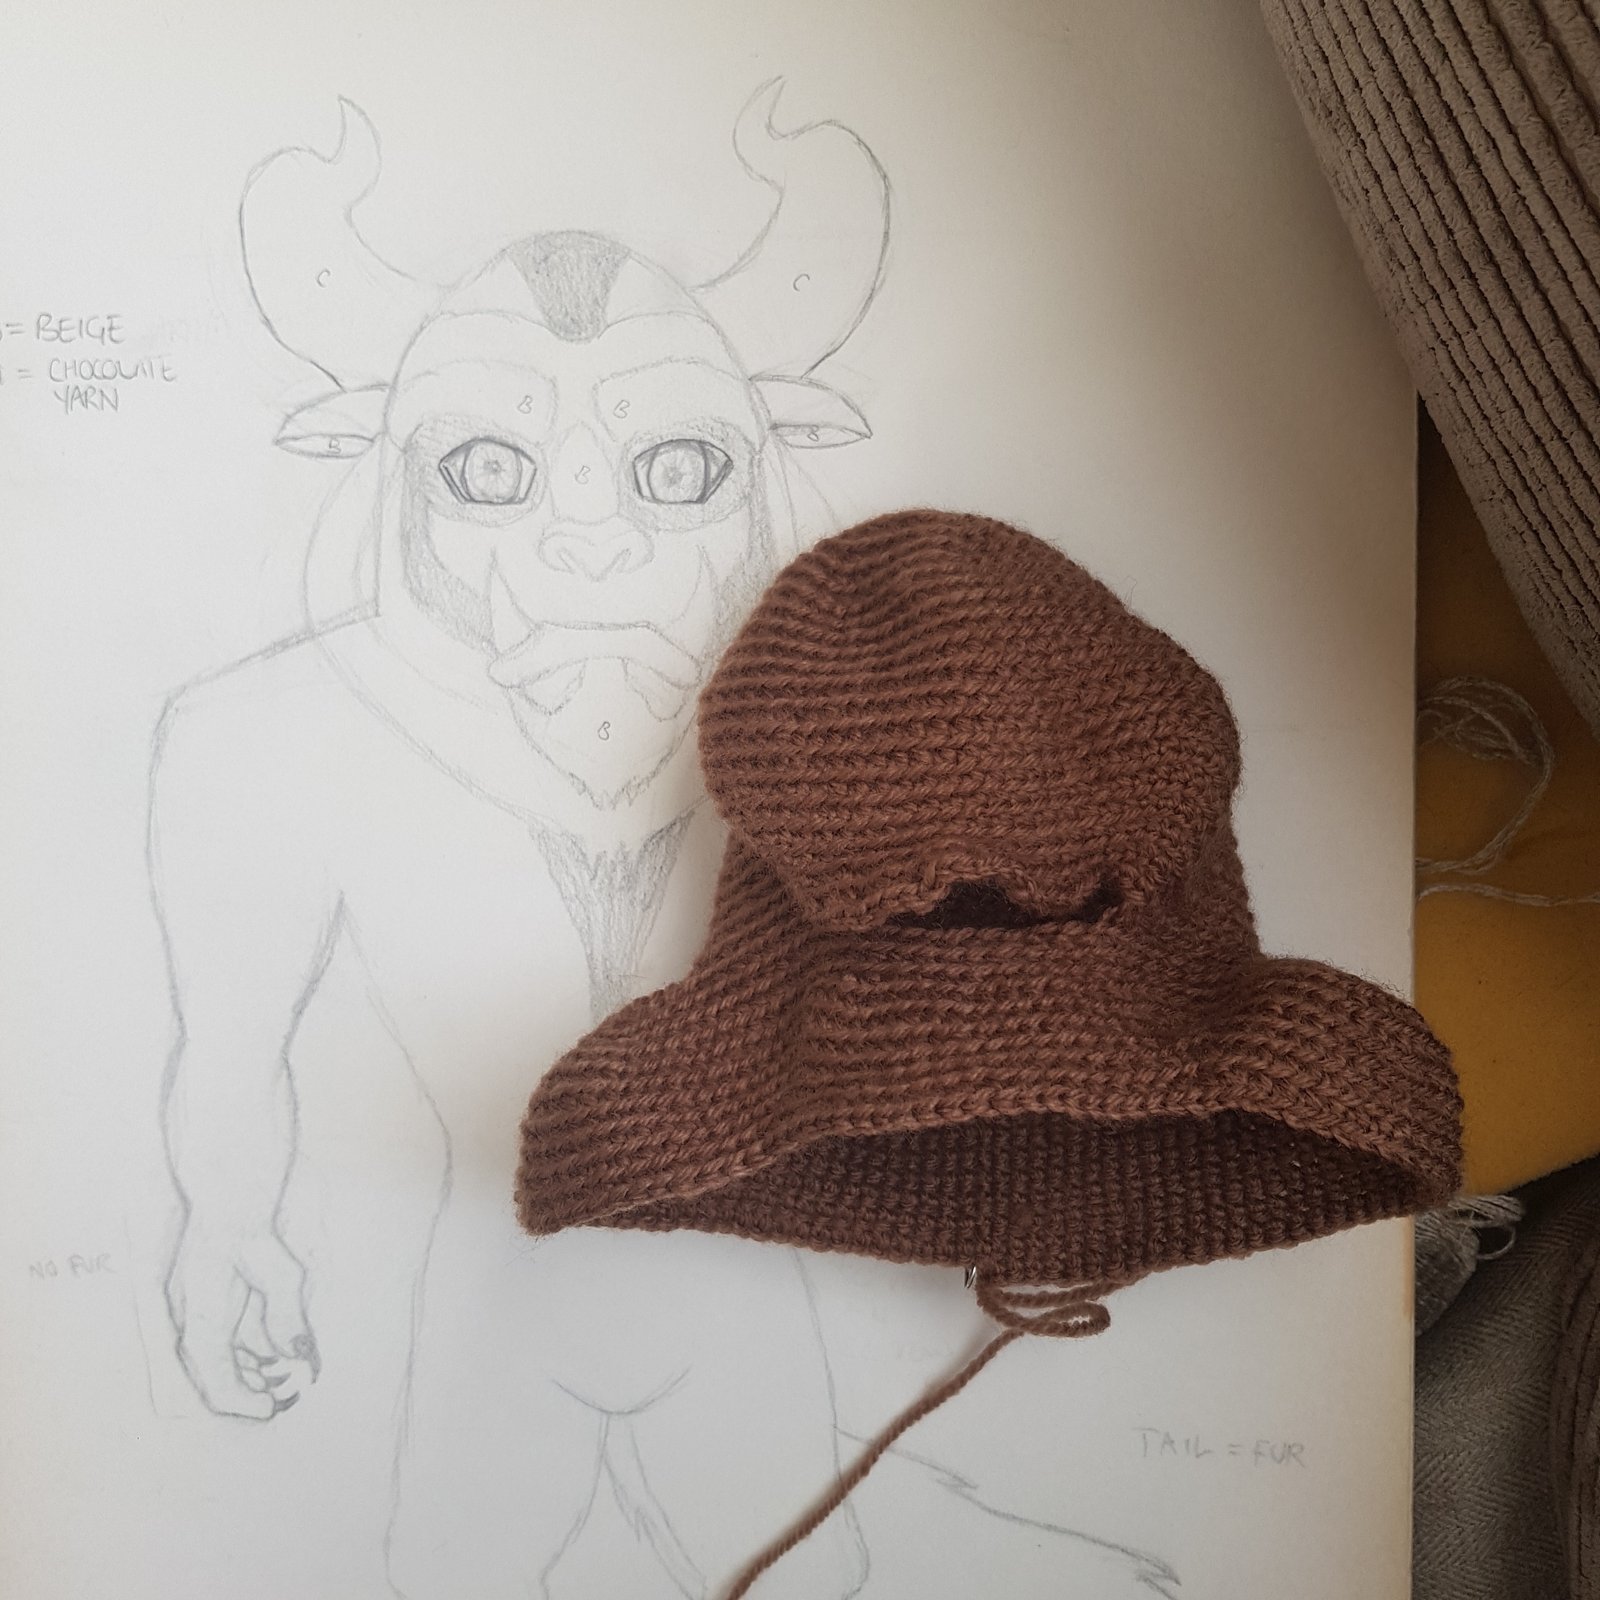
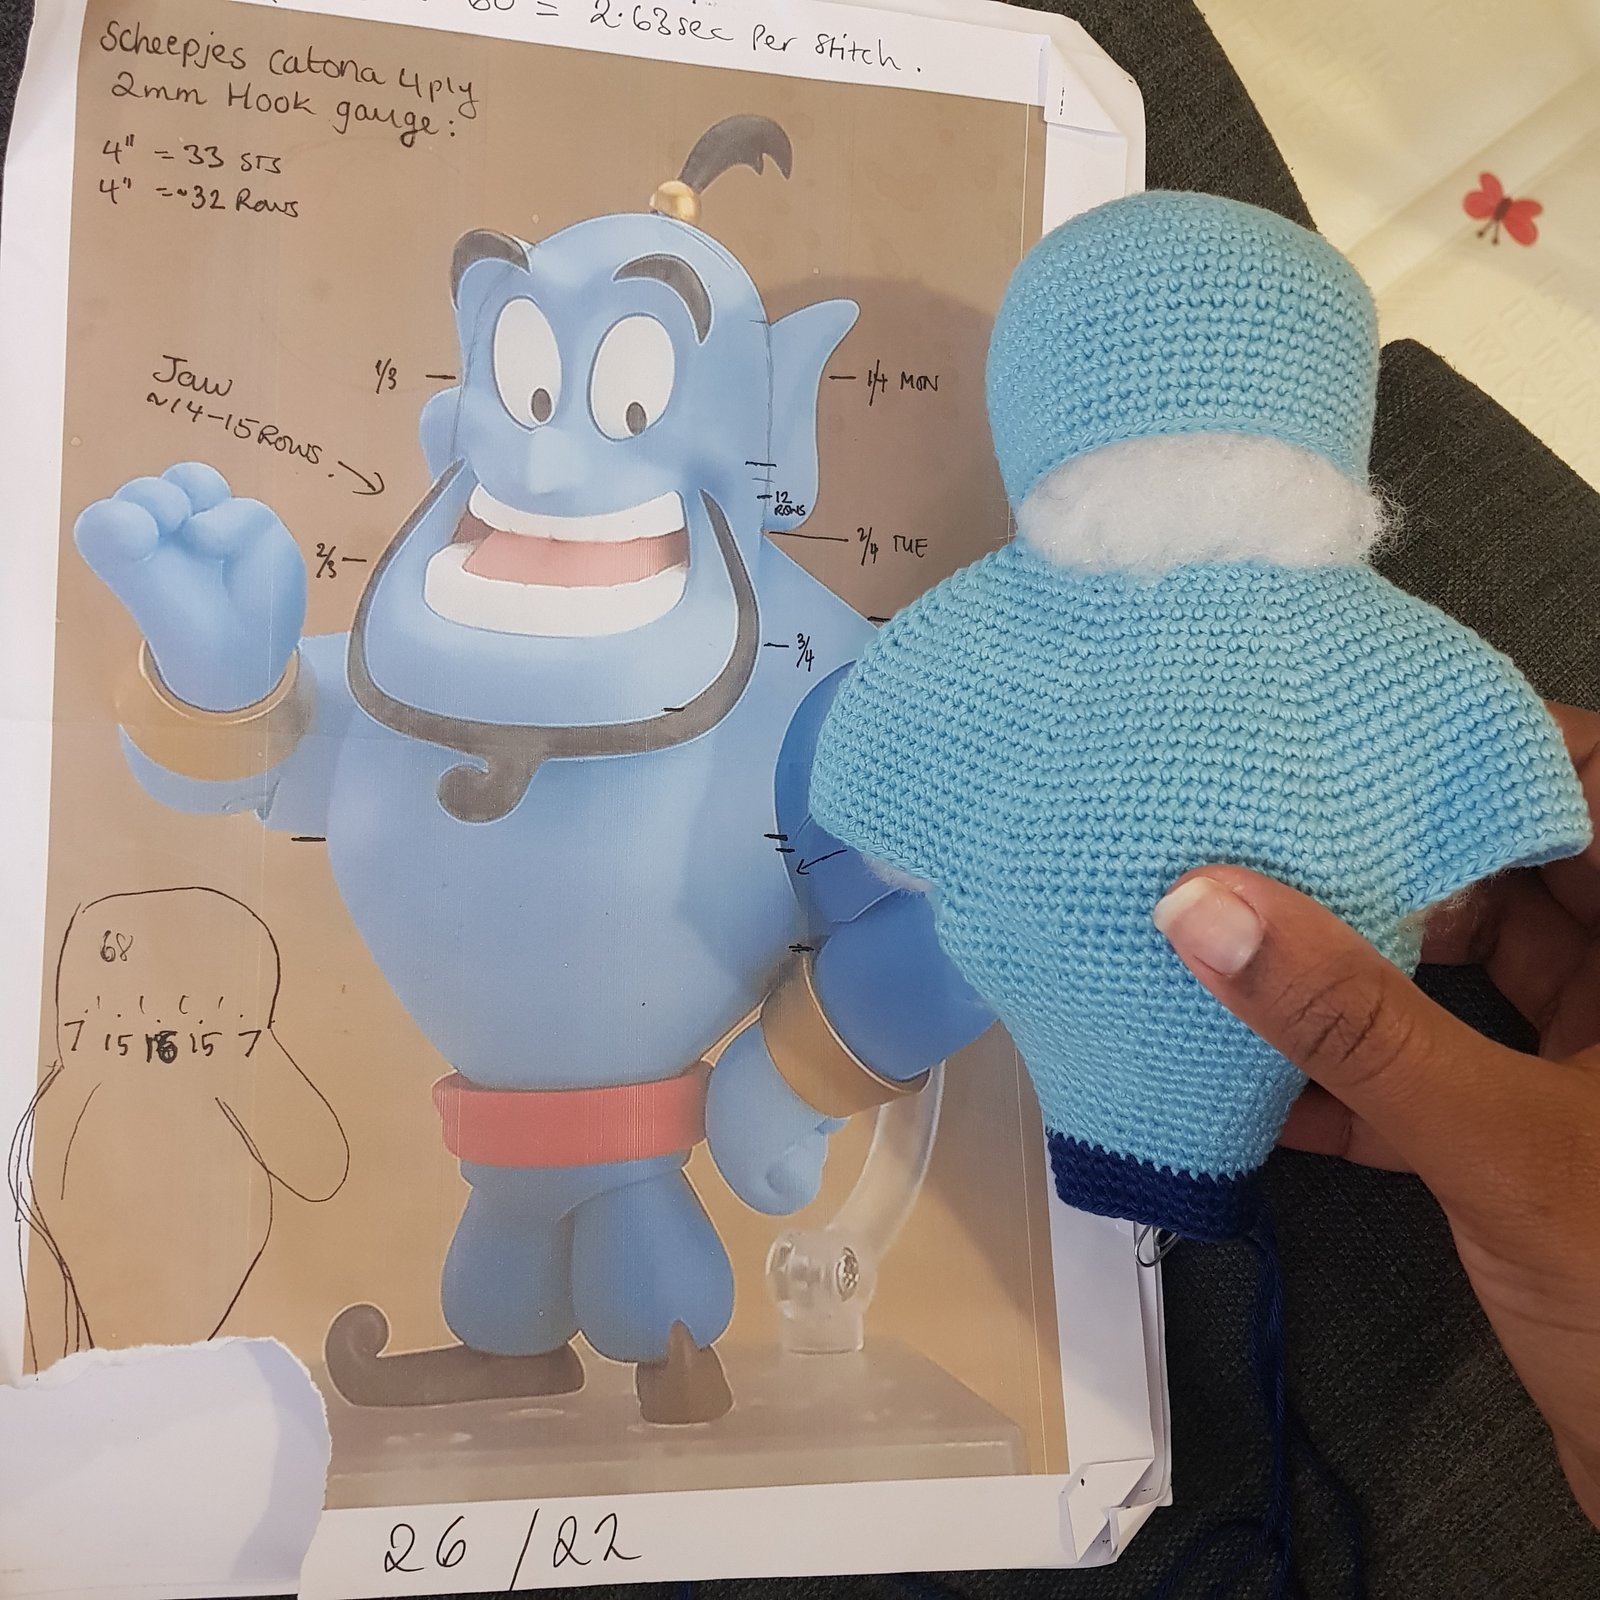
Breaking down my pictures and planning this way makes contouring and keeping on track with size so much easier – and I make less mistakes. It’s amazing the amount of time is saved with just 15 minutes of planning. Now, I make sure to put my maths abilities to work!
6. If Possible, Crochet Your Seams
Crocheting your seams together rather than whipstitching them gives your project a completely different look.
I suppose because I gained an appreciation for whipstitching, I may have just forgotten the fact that it doesn’t mean that I have to sew everything. This is primarily evident in my Cogsworth pattern. My original one was whipstitched together, even though I took my time to stitch it, it just didn’t have that sharp, seamless edge that I was looking for. So, when remaking him I decided to crochet my seams together instead and what a difference it makes as you can see from the picture below. The edges are neater, sharper and well defined.

7. Crochet Down the Sides of Your Work to Create Bent Joints
Arms with bent elbows, knees with bent legs, feet with heels – all of this was achieved easily once I discovered chaining and turning my work and then crocheting down the sides to bring it back together into a loop. The possibilities became endless.
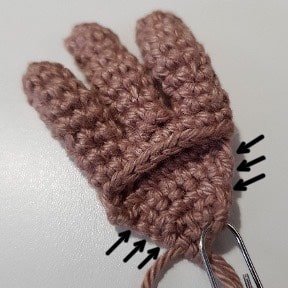
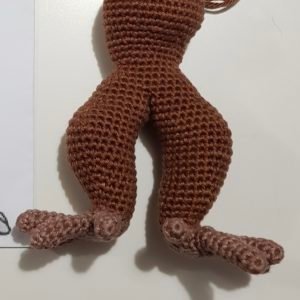
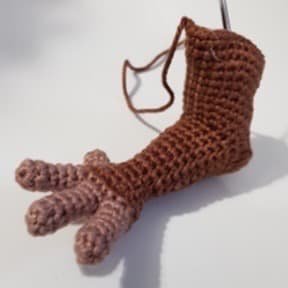
I basically, when crocheting continuously in a spiral, I start to chain and turn my work to create a platform, I then crochet down the sides to bring it back together and crochet continuously in a spiral again.
This method allows for some specific contouring that would otherwise be hard and near impossible to achieve.
8. Having an Understanding of the Effects of Stitch Sequences
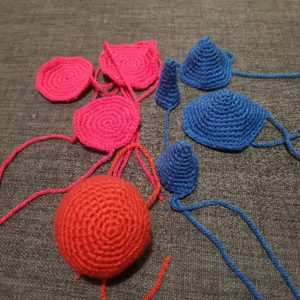
It may seem obvious, but even as advanced as my abilities may seem, I was still using a lot of guesswork, just going with the flow and doing stitches without being able to fully explain why when creating my patterns. Since sitting down to write my masterclass, I have been able to break down what I am doing and gain a better understanding. I crocheted a lot of basic shapes and tested the effects of various sequences to formulate some crochet rules that I could use to remind myself of when crocheting. Having these rules and visual aids to help me plan and scale my patterns has helped so much and taken a lot of guesswork out of my creative process.
9. Learning to Crochet with Both Hands
One of the reasons why I dislike creating crochet clothes for my dolls is because I don’t want the ridge pattern that is created by chaining and turning your work. However, as I decided that it’s important to continuously grow and learn this year, I started looking for ways to further evolve my amigurumi and the first thing that I looked for was how to crochet without creating that ridge pattern. It took a bit of searching and rephrasing but I finally found my answer and it seemed so obvious, instead of chaining and turning your work just switch hands at the end of your row and crochet in the opposite direction. Doing it this way completely eliminates the ridge pattern. For me it adds to the continuity and realism, but I can be a serious stickler when it come to the details.
Here is a picture, the top rectangle was crocheted with the chain and turn method and the bottom one was crocheted by switching hands.
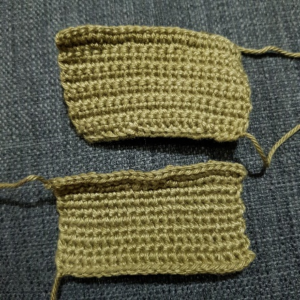
Some of you may be saying, “really Chantelle, you want us to learn to crochet with our other hand like it’s as easy as 1, 2, 3?!” The answer is yes and no. If like me, you don’t like the ridge pattern and want to remove it then this is the solution. Is learning to crochet with the opposite hand easy, no? But can it be done, yes!
I crochet right-handed, but I am left-handed. This is because when I first learnt to crochet there were not many left-handed tutorials out there. So, I just decided to learn the right handed way. Meaning that all those amazing creations that you see me make, believe it or not, have been made with my non-dominant hand. So, I assure you that it can be done. I am now in the process of crocheting with my left hand. I am still very slow at doing it because it will take some getting used to, but I hope that I’m my near future this will speed up. I am seeing so many outfits for my chibi dolls in my future!
10. Straighter Colour Changes
This was another tip that I went looking for – how to make straighter and more seamless colour changes. I was creating a bee pattern with stripes and I wanted my colour changes to be perfect. This usually doesn’t matter with the characters that I crochet because the seams are hidden, but I wanted to actively elevate my amigurumi and this was one area that I wanted to improve in.
There is an abundance of methods out there and which one you choose is up to you. The method you decide to use may even depend on what you are making, but either way getting these colour changes as straight as possible can really set your project apart.
So, I advise you to look around and find which method best suits you and just see the difference that it makes to your finished project.
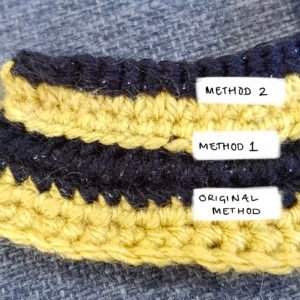
And there you have it, those are my top 10 tips I have personally used that have helped to elevate my amigurumi. I hope that you enjoyed post learnt something new.
Until the next post happy crocheting!
Chantelle X


